 how-to
Best Ways to Display Resin Accents
Table of Contents
- Why Display Matters as Much as the Piece Itself
- Materials and Tools You Need to Display Resin Accents
- How to Style Abstract Sculptures in Living Room Spaces
- The Best Lighting for Resin Art Displays
- Grouping Home Decor Accessories for Maximum Impact
- Display Hardware and Mounting Options for Every Surface
- How to Clean and Maintain Resin Accents on Display
- Matching Resin Accents to Your Interior Design Aesthetic
- Common Mistakes to Avoid When Displaying Resin Pieces
- Conclusion
- Frequently Asked Questions
Last Updated: September 16, 2026
Why Display Matters as Much as the Piece Itself
A resin accent only earns its place in a room once it's positioned where light, surface, and sightline all work together. The best ways to display resin accents come down to three variables: the surface you set it on, the light that hits it, and the surrounding objects that frame it. Get those right and even a modest piece reads as intentional.
This guide from Your Decor Essentials walks through the practical side of showing off resin work at home, from hardware and lighting to cleaning and grouping.
Materials and Tools You Need to Display Resin Accents
You need four categories of supplies to display resin accents properly: a stable surface, a light source, a mounting or riser system, and a soft cleaning kit. Skip any one of these and the piece either looks unfinished or gets damaged within a season.
Start with the basics:
- Risers and stands. Clear acrylic risers create height and depth on a shelf without competing with the piece itself. Multi-tier designs make better use of vertical space.
- Lighting. An LED display base with warm or multi-color settings pulls out the translucency and internal details of cured resin.
- Mounting hardware. Floating shelves with hidden brackets, or shadow box frames for flatter pieces, give you wall options when tabletop space runs out.
- Cleaning supplies. A microfiber cloth and a soft brush. Resin scratches easily, so anything abrasive is off the table.
A common mistake is buying the piece first and figuring out the surface later. Measure your shelf or table depth before you commit to a display method.
How to Style Abstract Sculptures in Living Room Spaces
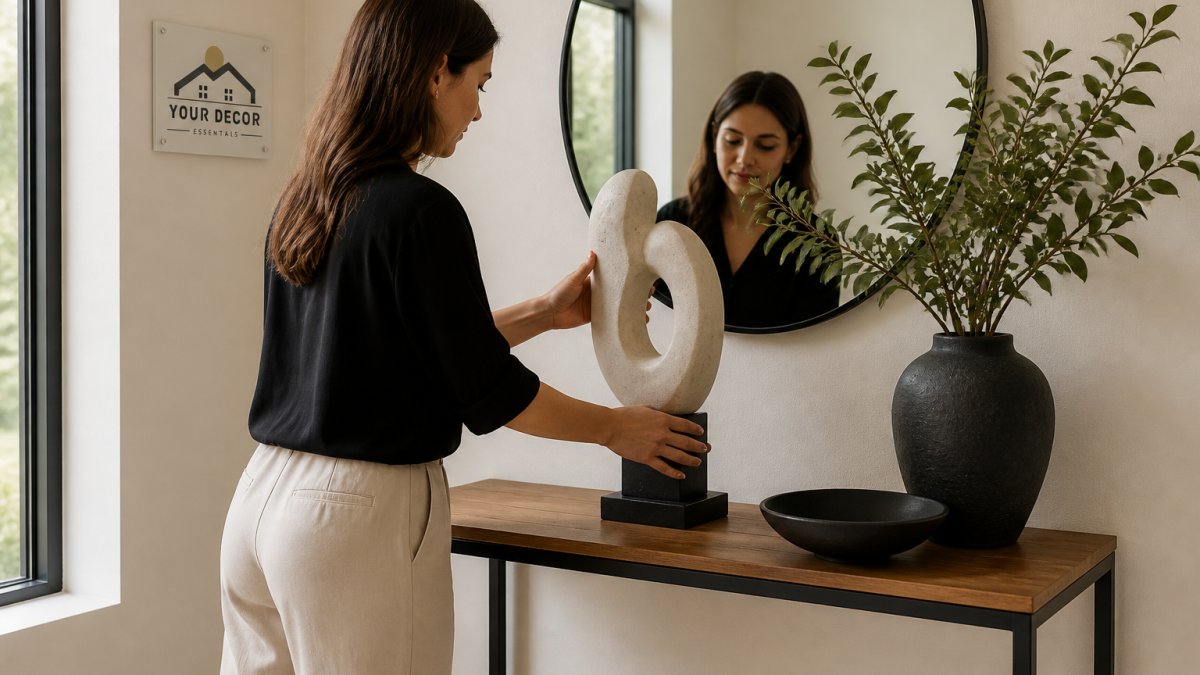
Style abstract sculptures in a living room by treating them as the anchor of a small vignette, not as one item among many. Give each piece roughly 12 to 18 inches of breathing room on either side. Clutter kills the effect faster than a bad color match ever will.
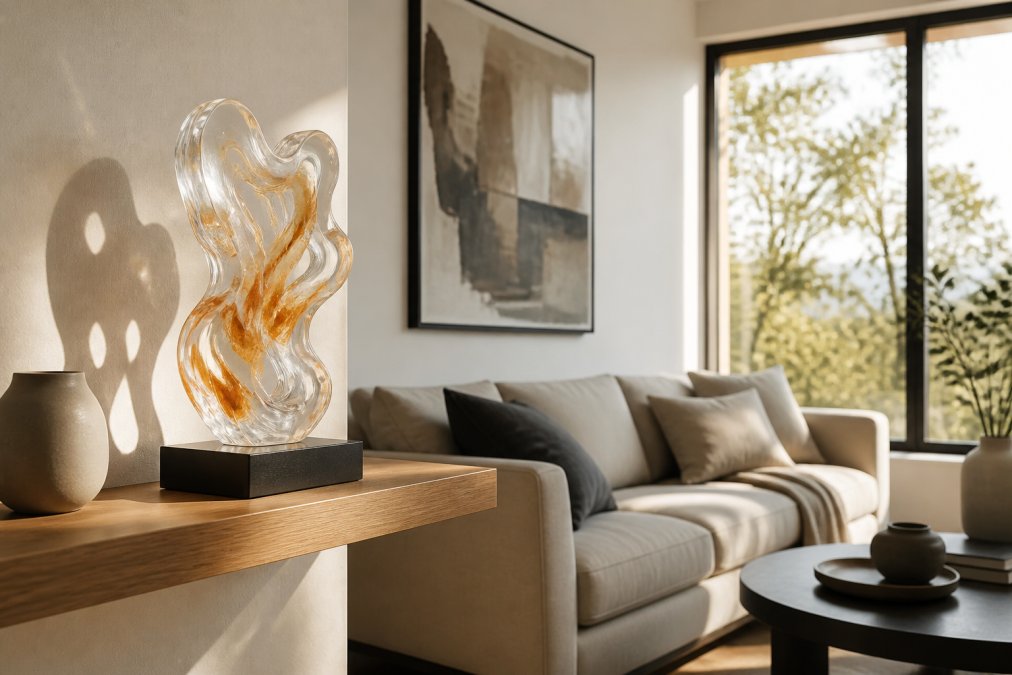
Place the tallest piece off-center rather than dead middle. The eye wants asymmetry, and a centered sculpture on a centered shelf reads as a display case rather than a room. Pair the sculpture with one contrasting texture, such as a wooden tray or a linen-bound book stack, and stop there.
If you're working with a low console, layer heights: a riser at the back, the sculpture on the riser, and a smaller accent in front. That single move creates depth without adding objects.
Match the display to your interior style, not just the room
Most guides style resin the same way regardless of the room it lives in. The stronger move is to let the room's existing aesthetic dictate the display method, because a piece that fights its surroundings never looks intentional. Four pairings cover most homes:
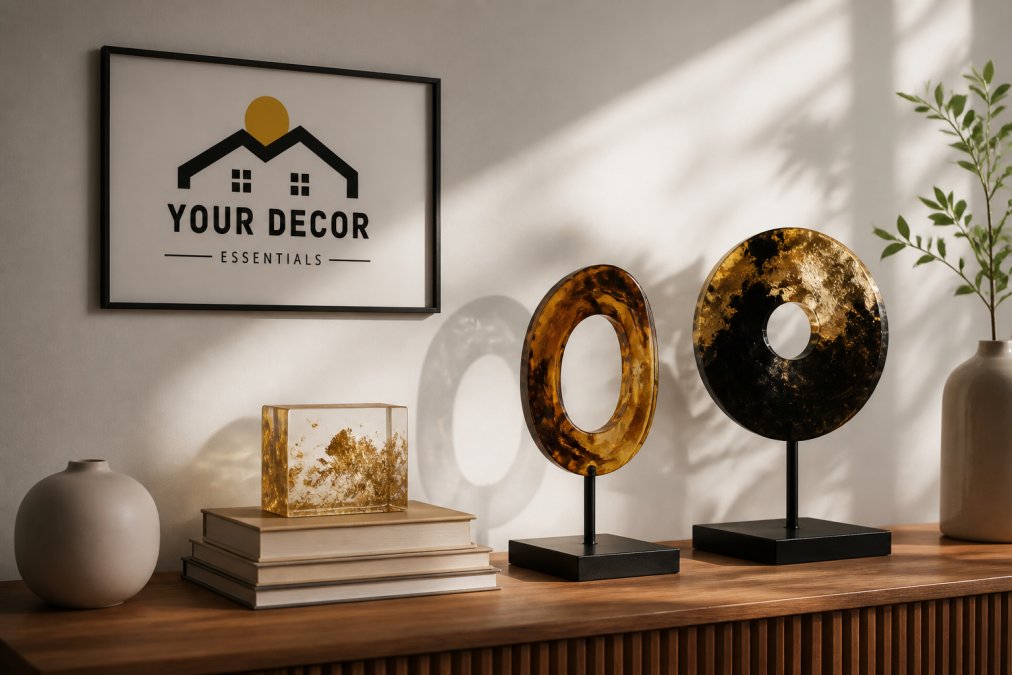
- Warm minimalist. Clear or amber-tinted resin on a natural wood riser, lit by a warm LED base. Keep the surrounding surface empty except for one book or a single ceramic object. The restraint is the point.
- Modern glam. Gold-flake or glossy resin on a mirrored or acrylic riser under cooler white light. Pair with brass or glass nearby so the metallic inclusions have something to echo.
- Organic and earthy. Dried-flower resin on a wooden tray or raw-edge slab, lit by diffused daylight through a sheer curtain. Avoid glossy finishes here; matte reads more natural.
- Moody and dramatic. Deep-tinted resin on a black or dark wood surface under a single directional spotlight. Keep the rest of the shelf dark so the piece is the only thing the eye can land on.
Make the display physically work
Styling fails when the hardware can't hold the piece. Before you commit to a look, match the mount to the weight and shape:
- Floating shelves with hidden brackets suit lightweight to medium sculptures and save tabletop space. They need a stud or proper anchors, so check your wall type first.
- Shadow box frames work for flat or low-profile resin art. The deep interior gives 3D pieces room without pressing against the glass.
- Magnetic floating frames suspend lightweight pendants and small flat accents between tensioned membranes for a floating effect. Not suitable for heavy pieces.
- Glass curio cabinets protect delicate or high-value collections from dust while giving 360-degree visibility. They need floor space and assembly time.
- Velvet jewelry busts hold resin necklaces and wearable pieces without scratching the surface.
For heavier sculptures, always check the weight rating on the shelf or bracket. A piece that seems light in your hand can put real stress on a wall anchor over months of vibration and settling.
The Best Lighting for Resin Art Displays
The best lighting for resin art is warm, indirect, and positioned below or beside the piece rather than directly above it. Resin is translucent, so light passing through it reveals the internal swirls, gold flakes, and dried flowers that make the piece worth showing. Overhead light flattens all of that.
Start with color temperature, because it changes what the piece looks like more than brightness does. Warm white (roughly 2700K to 3000K) flatters amber, gold, and dried-flower inclusions. Neutral white (around 3500K to 4100K) keeps clear and pale pieces from looking yellow. Cool white (5000K and up) reads clinical and washes out warm tones, so reserve it for modern glam pieces with metallic flake. A dimmable fixture matters more than a powerful one, because resin looks best at low to medium output where the internal detail glows instead of blowing out.
Four setups work well, and each has a trade-off:
| Lighting Setup | Best For | Placement | Watch Out For |
|---|---|---|---|
| LED display base | Sculptures with deep color gradients | Directly under the piece | Needs USB or outlet power nearby; cheap bases can flicker on camera |
| Warm accent lamp (2700K-3000K) | Wall-mounted resin art | 45-degree angle from the side | Heat buildup if the bulb sits close to cured resin |
| Daylight plus sheer curtain | Coasters and trays | Near a window, diffused | Direct sun causes yellowing over time |
| Battery puck light or LED strip | Shadow box frames and shelves | Inside the frame or under the shelf lip | Adhesive strips fail in warm rooms; check the weight rating |
Avoid halogen and incandescent bulbs. They run hot, and sustained heat is one of the few things that genuinely damages a cured resin surface, it can soften the piece, dull the finish, and accelerate yellowing. LED is the safe default because it runs cool and holds a steady color temperature.
For wall-mounted pieces, a picture light mounted above the frame throws light down the face of the resin and is the closest thing to a gallery setup. For tabletop sculptures, a small LED base does the same job from underneath and makes the piece appear to float. If you want the piece to read as a focal point after dark, put it on a dimmer and run it lower than the room's main light, the contrast is what draws the eye.
Grouping Home Decor Accessories for Maximum Impact
Grouping home decor accessories works on the rule of three: one tall piece, one medium, one small, arranged so their combined silhouette forms a triangle. This is the same principle retail stylists use, and it holds up in a home because the eye reads the triangle as a single unit.
A few rules that keep groupings from turning into piles:
- Keep everything in the group within one color family, or one accent color against neutrals.
- Vary height, not just width. A tray alone does nothing; a tray with a riser and a small sculpture on top does.
- Odd numbers read better than even ones, almost every time.
- Leave one item in the group that isn't resin. The contrast makes the resin pieces stand out more.
If you're furnishing a first apartment and worried about clashing, pick a single base palette (warm neutrals, cool grays, or black and white) and buy only within it for the first round.
Display Hardware and Mounting Options for Every Surface
Display hardware should match the weight and shape of the piece, not the aesthetic of the room. This is the part most guides skip, and it's where displays actually fail.
Match the hardware to the surface and the piece:
- Floating shelves with hidden brackets suit lightweight to medium sculptures and save tabletop space. They need a stud or proper anchors, so check your wall type first.
- Shadow box frames work for flat or low-profile resin art. The deep interior gives 3D pieces room without pressing against the glass.
- Magnetic floating frames suspend lightweight pendants and small flat accents between tensioned membranes for a floating effect. Not suitable for heavy pieces.
- Glass curio cabinets protect delicate or high-value collections from dust while giving 360-degree visibility. They need floor space and assembly time.
- Velvet jewelry busts hold resin necklaces and wearable pieces without scratching the surface.
For heavier sculptures, always check the weight rating on the shelf or bracket. A piece that seems light in your hand can put real stress on a wall anchor over months of vibration and settling.
How to Clean and Maintain Resin Accents on Display
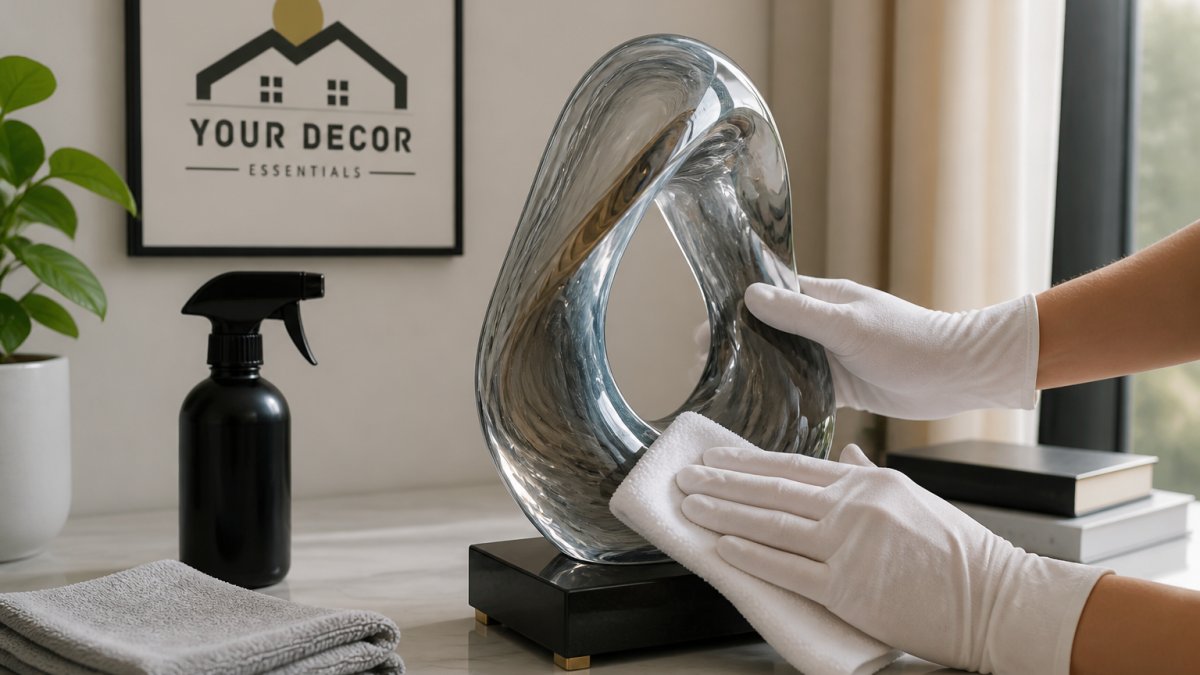
Clean resin accents with a dry microfiber cloth first, and only use a lightly dampened cloth if there's sticky residue. Resin surfaces scratch and cloud easily, so the goal is to remove dust without touching the surface more than necessary.
A simple maintenance routine:
- Dust weekly with a soft brush or dry microfiber cloth.
- For fingerprints or smudges, breathe on the spot and wipe gently, the same way you'd clean a lens.
- Keep displays out of direct sun. UV exposure causes yellowing over time, and it's not reversible.
- Rotate pieces that sit near windows every few months so no single side takes the full exposure.
- Store off-season pieces wrapped in soft cloth, never in direct contact with other hard objects.
Matching Resin Accents to Your Interior Design Aesthetic
Match resin accents to your interior by choosing finishes that echo the room's existing materials, not by matching colors exactly. A marble-effect resin piece belongs in a space with stone or cool neutrals. A piece with gold flakes belongs where there's already brass, warm wood, or amber lighting.
Quick pairing guide:
- Warm minimalist: clear or amber-tinted resin, natural wood risers, warm LED bases.
- Modern glam: gold flakes, glossy finish, mirrored or acrylic risers, cooler white light.
- Organic and earthy: dried flowers embedded in resin, matte finish, wooden trays, diffused daylight.
- Moody and dramatic: deep-tinted resin, black or dark wood surfaces, single directional spotlight.
If you're ordering online and can't see the piece in person, order one accent first and live with it in the room for a week before committing to a set. Colors that look identical on a screen can shift dramatically under your actual lighting.
Common Mistakes to Avoid When Displaying Resin Pieces
The most common display mistakes are placing resin in direct sunlight, resting it directly on abrasive surfaces, and clustering too many pieces on one shelf. Each one shortens the life of the piece or cancels out its visual impact.
The five that come up most often:
- Direct sun exposure. Causes yellowing and makes colors look washed out.
- Hard, unlined surfaces. Resin scratches against stone, metal, and unfinished wood. Use a felt pad or cloth underneath.
- Overhead-only lighting. Kills the translucency that makes resin worth displaying.
- Too many pieces, too close. Each one competes with the others.
- Ignoring weight limits. A shelf that held a candle fine may not hold a solid resin sculpture.
Fix the first two and you've solved most long-term damage before it starts.
Conclusion
Displaying resin well is a small set of decisions made in the right order: surface, light, hardware, then styling. Get the order right and the room does most of the work for you.
Your resin pieces deserve a display that actually shows them off, and that's where Your Decor Essentials comes in. Our curated selection of abstract sculptures and resin accents is built for exactly this kind of styling, alongside functional lighting that transforms how a room reads after dark and furniture that gives your pieces a proper home. Every item is chosen to help you build a personalized interior rather than a showroom copy. Shop Now and find the pieces that finish the room you've already started.
Frequently Asked Questions
How do you style resin sculptures in a living room?
Start by choosing a focal point like a console table or floating shelf. Place the largest resin piece slightly off-center, then layer smaller accents at varying heights using acrylic risers or stacked books. Keep the surrounding decor minimal so the resin piece stands out. Neutral backdrops work best because they let the translucent colors and embedded details in the resin draw the eye without competition from busy wallpaper or patterned furniture.
How can lighting enhance the appearance of resin accents?
Backlighting and underlighting bring out the depth and translucency of resin pieces. LED display bases with warm white or adjustable color settings work especially well for pieces with embedded gold flakes, dried flowers, or deep color gradients. Position a small spotlight at a 45-degree angle to create shadows that emphasize the sculptural shape. Avoid harsh overhead fluorescent lights, which flatten the surface and wash out subtle color shifts.
Should resin accents be grouped or displayed individually?
Both approaches work depending on the piece and the space. Group three to five smaller resin accents on a wooden tray or shelf to create a cohesive vignette. Display a single large statement sculpture on its own to let it command attention. The rule of thumb is odd numbers for groupings and at least 4 to 6 inches of breathing room between individual pieces, so each item reads as intentional rather than cluttered.
How do you clean and maintain resin home decor?
Dust resin accents weekly with a soft microfiber cloth to prevent abrasive buildup. For deeper cleaning, wipe with lukewarm water and a drop of mild dish soap, then dry immediately with a lint-free cloth. Avoid alcohol-based cleaners, acetone, and abrasive sponges because they can dull the surface finish or cause clouding over time. Keep pieces out of direct sunlight for extended periods, since UV exposure can yellow some resin formulations.