 how-to
How to Clean and Maintain Resin Home Decor
Table of Contents
- What You'll Need: Tools and Materials for Resin Care
- Daily Cleaning Routine for Resin Pieces
- Best Cleaning Products for Epoxy Resin
- Removing Stubborn Stains and Residue
- How to Polish Resin Decor and Restore Shine
- How to Prevent Resin Yellowing and UV Damage
- Repairing Minor Scratches on Resin Surfaces
- What to Avoid When Cleaning Resin Decor
- Frequently Asked Questions
Last Updated: September 28, 2026
What You'll Need: Tools and Materials for Resin Care
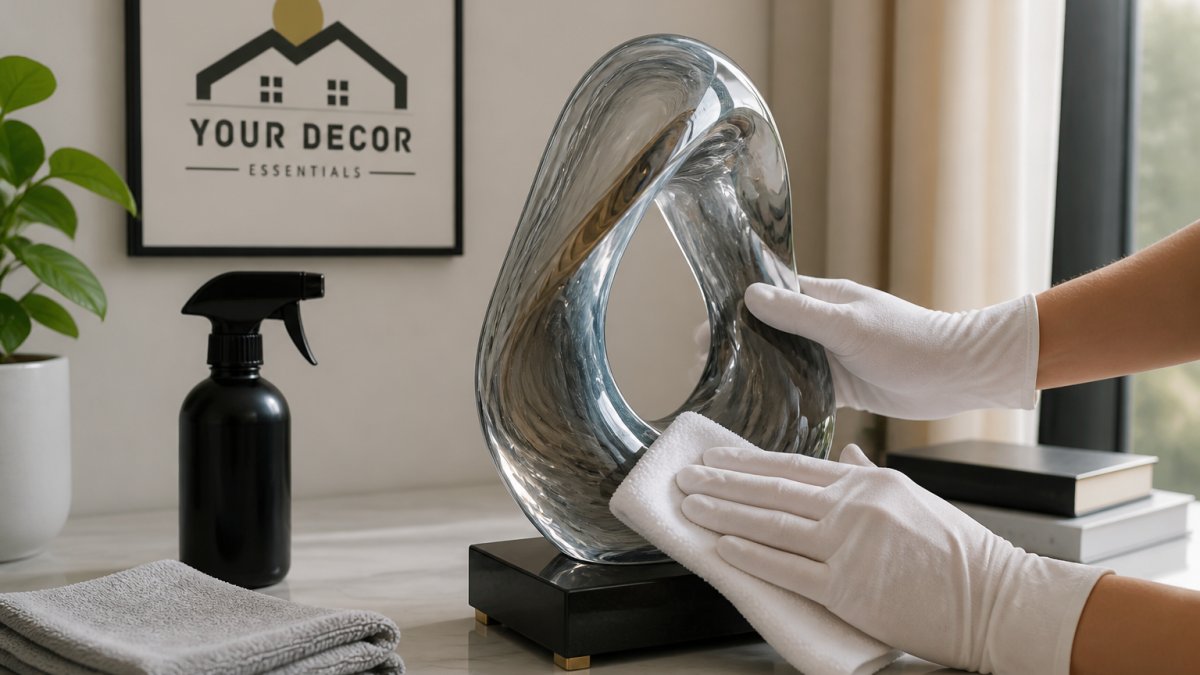
To clean and maintain resin properly, start with having the right supplies on hand. You don't need much, but what you use matters.
Essential tools:
- Microfiber cloth (lint-free, non-abrasive)
- Soft-bristled brush or old toothbrush
- Melamine sponge for gentle scrubbing
- Spray bottle for water application
- Soft towel or cotton cloth for drying
Cleaning products:
- Mild soap or pH-neutral cleaner
- Warm water (room temperature or slightly warm)
- Distilled water for final rinse (optional but recommended)
The microfiber cloth is your best friend here. It won't scratch surfaces and actually lifts dust without leaving lint behind. Skip paper towels, they leave fibers and can trap particles against the resin.
Daily Cleaning Routine for Resin Pieces
A quick daily wipe-down prevents dust buildup and keeps your resin home decor looking fresh. This routine takes about two minutes per piece.
Daily cleaning steps:
- Use a dry microfiber cloth to gently wipe away surface dust
- For sticky spots or fingerprints, lightly dampen the cloth with warm water
- Wipe the entire surface in gentle circular motions
- Dry immediately with a clean, dry cloth
- Check for water spots and buff them away
The key is consistency. A piece you wipe daily stays cleaner longer than one you ignore for weeks then scrub hard. Light, frequent cleaning beats occasional deep cleaning.
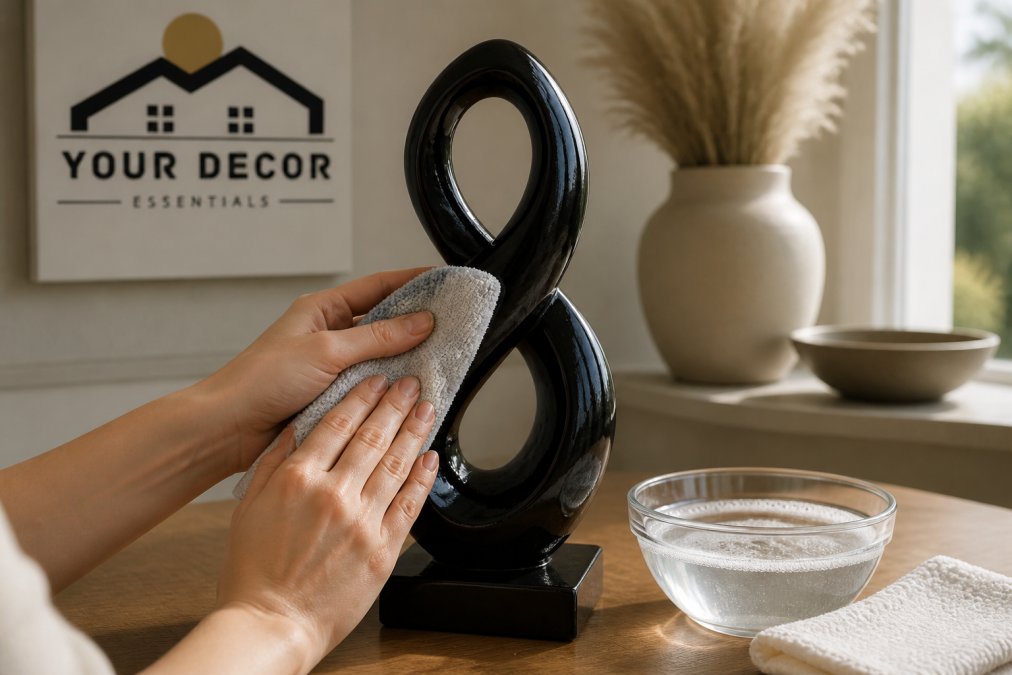
Most resin pieces have a smooth, cured resin surface that doesn't trap much dirt. Dust sits on top, so a dry cloth removes it easily. Only add water when you see fingerprints, smudges, or sticky residue.
Best Cleaning Products for Epoxy Resin
When water alone isn't enough, the right cleaner makes a difference. Not all products are safe for epoxy resin surfaces. Understanding why certain cleaners work, and why others cause permanent damage, helps you make confident choices.
Safe cleaning options:
- Mild dish soap (a few drops in warm water)
- pH-neutral all-purpose cleaners
- Gentle glass cleaners (spray on cloth, not directly on piece)
- Distilled water for final rinse
- Isopropyl alcohol at 70% concentration (for stubborn residue, use sparingly)
What to avoid and why:
- Harsh solvents (acetone, paint thinner, mineral spirits): These dissolve the resin's outer protective layer, causing permanent cloudiness, yellowing, and surface degradation that cannot be reversed.
- Abrasive scrubbing powders: Physically scratch the cured surface, creating micro-damage that traps dirt and makes future cleaning harder.
- Bleach or ammonia-based cleaners: These are alkaline and acidic respectively; both break down the polymer chains in cured epoxy, causing discoloration and weakening the material's structural integrity.
- Vinegar (acidic): While sometimes recommended for mineral deposits, vinegar's acidity (pH ~2.4) can etch resin surfaces and dull the finish over time with repeated use.
- Lemon juice or citrus cleaners: Similar acidity risk; avoid for regular cleaning.
Special consideration for mixed-media resin pieces:
If your resin decor contains embedded wood, metal, dried flowers, or other materials, cleaning becomes more complex. Each material has different tolerances:
- Wood inserts: Avoid prolonged water exposure. Use a barely damp cloth and dry immediately. Never soak. Wood can swell, warp, or develop mold if moisture penetrates.
- Metal accents (copper, brass, steel): Mild soap and water are safe. Avoid vinegar-based cleaners, which can oxidize or tarnish metal. Dry thoroughly to prevent rust on steel.
- Dried flowers or botanicals: These are fragile and can disintegrate if wet. Use only a dry microfiber cloth or a soft brush. Never apply liquid directly to the botanical material itself.
- Fabric or paper elements: Treat like botanicals, dry cleaning only. Moisture causes deterioration, bleeding of dyes, and mold growth.
For mixed-media pieces, always test your cleaning method on an inconspicuous area first. A safe approach for pure resin may damage the embedded material.
How to test a new cleaner:
- Apply the product to a soft cloth (never directly to the resin).
- Test on a hidden area, the underside, back, or interior corner.
- Wait 5 minutes and observe for discoloration, cloudiness, or surface changes.
- Rinse and dry the test spot.
- Only proceed with the full piece if no damage appears.
The best cleaning products for epoxy resin are the simplest ones. A pH-neutral approach (between 6.5 and 7.5 on the pH scale) protects the cured resin surface and prevents chemical degradation. When in doubt, use distilled water and mild soap, this combination handles the vast majority of cleaning needs without risk.
Removing Stubborn Stains and Residue
Sometimes dust and fingerprints aren't the only problem. Sticky residue, water spots, or dried-on marks need extra attention.
For sticky residue:
- Dampen your microfiber cloth with warm, soapy water
- Hold the cloth against the sticky spot for 10-15 seconds to soften it
- Gently rub in circular motions
- Rinse with a cloth dampened in distilled water
- Dry completely
For water spots or mineral deposits:
- Mix equal parts distilled water and white vinegar (only for spots, not full cleaning)
- Apply to a cloth (not directly to the resin)
- Wipe gently and rinse immediately with distilled water
- Buff dry with a microfiber cloth
For stubborn marks:
Use a melamine sponge dampened with warm water. These sponges are non-abrasive and work surprisingly well on resin surfaces. Test on a hidden area first. Press gently and use light circular motions, never scrub hard.
Most stubborn stains come off with patience and the right approach. Avoid the urge to scrub harder. Gentle pressure with the right tool beats aggressive scrubbing every time.
How to Polish Resin Decor and Restore Shine
Over time, resin can lose its glossy finish and look dull. Understanding what caused the dullness, and whether polishing can fix it, is key to successful restoration.
Why resin loses shine:
- Surface dust and residue buildup: Creates a hazy layer that scatters light. This is fixable with polishing.
- Micro-scratches from cleaning or handling: Rough surfaces don't reflect light evenly. Light polishing can smooth these.
- Chemical exposure or oxidation: Causes permanent cloudiness or yellowing. Polishing cannot reverse this.
- Humidity or temperature damage: Can cause internal clouding. Polishing only addresses surface appearance.
Before you polish, determine whether the dullness is surface-level or structural. If the piece looks hazy only on the outside but is clear when you look through it, polishing will help. If the cloudiness is throughout the material, polishing won't restore clarity.
Polishing steps for surface dullness:
- Clean the piece thoroughly with mild soap and warm water
- Dry completely with a lint-free cloth
- Apply a small amount of furniture polish or automotive clear-coat wax to a soft microfiber cloth
- Buff in gentle circular motions across the entire surface, working in small sections
- Wipe away excess polish with a clean, dry cloth
- Buff again with a dry microfiber cloth for maximum shine
- Let the piece sit for 30 minutes before handling to allow the polish to fully cure
Product options for resin polishing:
- Furniture polish (paste or liquid): Works well for general shine restoration. Apply sparingly; heavy application leaves streaks and attracts dust. Brands designed for wood furniture are safe for resin.
- Automotive clear-coat wax: Creates a protective layer while restoring shine. These are formulated for transparent surfaces and work exceptionally well on resin. Apply thinly, let dry slightly (follow product instructions), then buff with a microfiber cloth.
- Resin-specific polishes: Some specialty products are marketed for resin. These work but are not necessary; furniture polish or automotive wax perform equally well at lower cost.
- Avoid: Silicone-based polishes (they build up over time and attract dust) and products containing abrasives (even "fine" abrasive polishes can micro-scratch resin).
Special care for mixed-media resin pieces:
If your piece contains wood, metal, dried flowers, or fabric, polishing requires caution:
- Wood inserts: Do not apply polish directly to wood. Polish only the resin surrounding the wood. Wood absorbs oils and can darken or become slick.
- Metal accents: Furniture polish is safe on metal, but avoid products with acidic components. Automotive wax is safe and can enhance the appearance of metal elements.
- Dried botanicals or fabric: Do not polish these areas. The oils in polish can discolor or damage delicate materials. Polish only the resin portions.
- Layered pieces: If resin is layered over other materials, apply polish only to the top resin layer. Do not let polish seep into seams or gaps.
Polishing frequency:
Polish your resin pieces every 2-3 months if they're in regular-use areas (shelves, desks, high-traffic rooms). Pieces in low-dust environments may need polishing only once or twice yearly. Over-polishing can build up residue, so less frequent polishing is better than excessive application.
When polishing won't help:
If your resin piece has yellowed from UV exposure, developed internal cloudiness from humidity, or has deep scratches, polishing will not restore it to original condition. In these cases:
- Light yellowing: Prevent further damage by moving the piece away from sunlight. The existing yellowing is permanent.
- Internal cloudiness: This indicates moisture or chemical damage inside the resin. Polishing the surface won't clear the interior.
- Deep scratches or gouges: Use the scratch repair method (fine-grit sanding followed by resin fill) instead of polishing.
How to Prevent Resin Yellowing and UV Damage
Sunlight is the biggest threat to resin. UV exposure causes yellowing and can eventually damage the material.
Prevention strategies:
- Keep resin pieces away from direct sunlight
- Use window treatments like curtains or UV-blocking film
- Rotate pieces occasionally if they must be near windows
- Avoid placing resin decor in south-facing windows
- Use UV-protective glass or acrylic display cases for valuable pieces
Yellowing happens when UV rays break down the resin's polymer chains. Once it starts, you can't fully reverse it. Prevention is far easier than trying to fix yellowing later.
If a piece must be in a sunny spot, consider using a UV-protective spray or coating designed for resin. These create a barrier against harmful rays. Reapply annually for best protection.
Direct sunlight isn't the only concern. Indirect UV exposure through windows still causes damage over time. Even cloudy days let UV through glass. Position pieces thoughtfully and check them occasionally.
Repairing Minor Scratches on Resin Surfaces
Small scratches happen. The good news is that minor damage is often fixable.
For light surface scratches:
- Clean the area thoroughly and let dry
- Use fine-grit sandpaper (400-600 grit) to gently smooth the scratch
- Sand in one direction, not circular motions
- Wipe away dust with a damp cloth
- Dry completely
- Polish the area to restore shine
For deeper scratches:
Light sanding may not be enough. You can fill deeper scratches with clear epoxy resin or resin repair kits. These come with instructions and let you rebuild the damaged area. The repair won't be invisible, but it prevents the scratch from getting worse.
For valuable pieces, consider having a professional resin artist handle repairs. They have experience matching finishes and making repairs less visible.
Minor scratches are cosmetic and don't affect the piece's durability. Many people leave them as signs of use. But if appearance matters, these fixes work well for light damage.
What to Avoid When Cleaning Resin Decor
Knowing what NOT to do is just as important as knowing what to do.
Don't use these products:
- Harsh chemical cleaners or solvents
- Abrasive scrubbing pads or steel wool
- Bleach, ammonia, or acetone
- Pressure washers or high-heat steam cleaners
- Dishwasher (if your resin pieces are dishwasher safe, hand wash instead for longevity)
Don't use these techniques:
- Scrubbing hard with rough materials
- Soaking pieces for extended periods
- Using boiling water
- Exposing to extreme temperature changes
- Storing in humid environments without protection
Chemical degradation happens fast with the wrong products. Harsh cleaners eat through the resin's protective surface layer. Once that layer is gone, the underlying material becomes vulnerable to yellowing and damage.
Temperature changes are also a concern. Resin expands and contracts with heat. Sudden changes can cause cracking or separation in layered pieces. Keep pieces in stable, moderate temperatures.
Humidity matters too. Store resin decor in dry spaces. High moisture environments can cause clouding or surface damage over time.
Frequently Asked Questions
What is the best thing to clean resin with?
Mild soap and warm water is the safest foundation for cleaning resin home decor. Use a pH-neutral gentle cleaner mixed with lukewarm water and apply with a soft microfiber cloth. For stubborn residue, a melamine sponge works well on non-abrasive surfaces. Avoid harsh solvents, abrasive pads, and acidic cleaners that can cause chemical degradation. Always test any new product on an inconspicuous area first.
How do you prevent resin from yellowing over time?
Yellowing occurs from UV exposure and direct sunlight. Protect your resin pieces by keeping them away from windows or using UV-filtering curtains. Store items in a cool, dark place when not displayed. Avoid prolonged exposure to intense light sources. Regular maintenance with proper cleaning also helps monitor surface condition. For resin furniture and sculptures, rotating their position periodically reduces uneven sun exposure.
Can you use glass cleaner on resin sculptures?
Most standard glass cleaners contain solvents that can damage resin surfaces and cause chemical degradation. It's safer to stick with mild soap and water. Always check product labels to ensure they're pH-neutral and non-abrasive before applying to your decor.
What should I do if my resin piece gets scratched?
Minor scratches can often be minimized by buffing the area gently with a microfiber cloth and resin polish. For deeper scratches, specialized resin repair kits are available that can fill and level the damage. Apply the repair compound carefully, let it cure fully per product instructions, then polish smooth. Prevent future scratches by handling pieces with care and using protective surfaces underneath when displaying on furniture.
Keeping your resin home decor beautiful takes just a few minutes of regular care. The pieces you choose from Your Decor Essentials are designed to last, and proper maintenance ensures they stay looking stunning for years. Start with a simple daily wipe-down using a microfiber cloth, use mild soap and warm water for deeper cleaning, and protect your pieces from direct sunlight. These habits prevent most problems before they start.