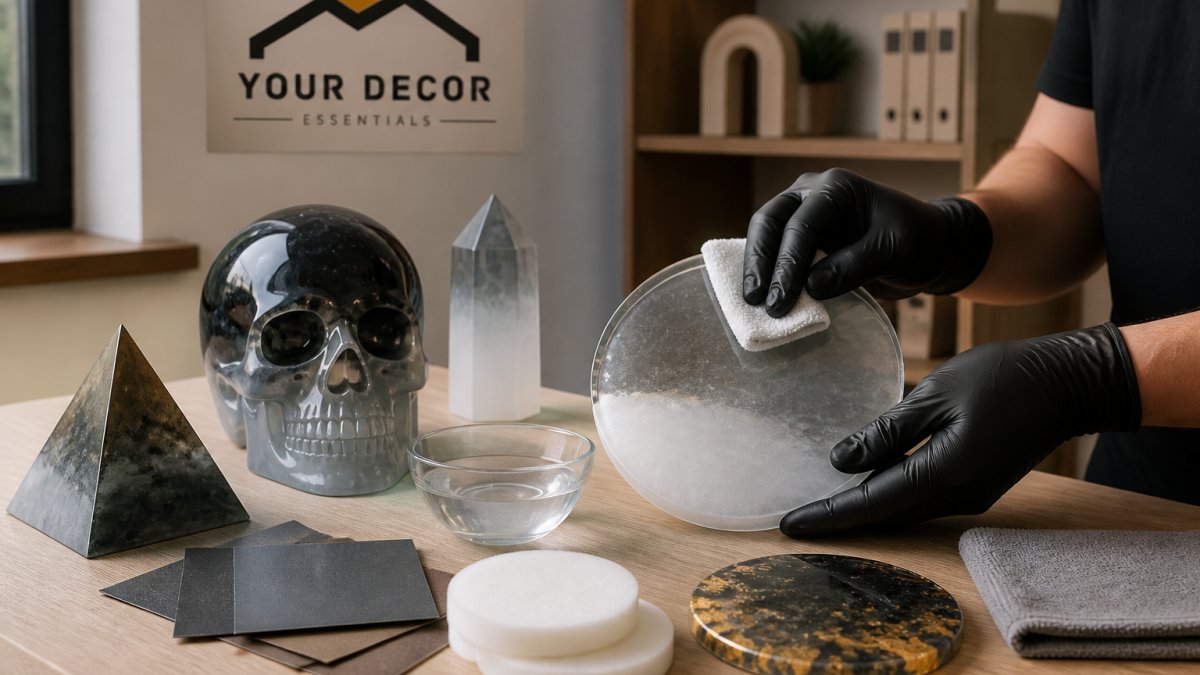
 how-to
How to Fix Cloudy Resin Home Decor: Step-by-Step
Table of Contents
- Why Is My Resin Cloudy: Common Causes
- Resin Curing Temperature and Humidity: Getting Conditions Right
- Diagnosing the Problem: Cloudy Resin vs. Cloudy Surface vs. Cloudy Mold
- How to Fix Cloudy Resin Home Decor: Repair Methods
- How to Polish Resin and Restore Clarity
- How to Sand and Recoat Epoxy Resin for a Fresh Finish
- Prevention Checklist: Keeping Your Resin Decor Crystal Clear
- When to Repair, Recoat, or Start Fresh
- Frequently Asked Questions
Last Updated: October 20, 2026
Why Is My Resin Cloudy: Common Causes
Resin cloudiness happens for specific reasons. Understanding what caused it helps you fix it the right way. The problem usually starts during mixing, curing, or storage.
Cloudiness During Mixing
Cloudy resin often appears right when you mix Part A and Part B. This usually means air bubbles got trapped. Stirring too fast creates bubbles. Pouring from too high also introduces air.
The mix ratio matters too. If you don't measure correctly, the resin won't cure properly. This leaves a hazy finish instead of crystal clear results.
Temperature during mixing affects clarity. Cold resin is thicker and harder to blend smoothly. Warm resin flows better and releases bubbles more easily.
Cloudiness After Curing
Sometimes resin looks clear when you pour it but turns cloudy after curing. This happens when moisture gets into the resin. Humidity in the room pulls water vapor into the piece as it hardens.
Temperature swings during curing also cause problems. If your room gets too cold or too warm, the resin can develop a foggy appearance. Uneven curing temperatures create stress in the material.
Cloudiness from Storage and Environment
How you store resin decor matters after it's finished. Direct sunlight can cause yellowing and cloudiness over time. UV light breaks down the resin surface.
Humidity and moisture are the biggest culprits. If you keep resin pieces in a damp room or near water sources, they absorb moisture. This creates that frosted glass look on the surface.
Temperature changes in storage cause the same problem. A piece moves between a warm living room and a cold basement? Condensation forms on the surface and inside tiny cracks.
Resin Curing Temperature and Humidity: Getting Conditions Right
Temperature and humidity are the two environmental factors that most often determine whether a resin piece cures crystal clear or turns hazy. Resin is sensitive to both, and the effects compound: cool air slows the cure and extends the window during which moisture can be absorbed, while high humidity supplies that moisture. Getting these conditions right is not about a single number but about stability and awareness.
Why Temperature Matters
Epoxy resin cures through an exothermic chemical reaction. The two parts must be mixed in the correct ratio, and the reaction proceeds fastest at moderate warmth. Most hobbyist and professional resin products are formulated to cure at room temperature, commonly cited as a range of 70-75°F. Below that range, the reaction slows dramatically: the resin stays soft longer, bubbles have more time to rise but may not release if viscosity remains high, and moisture from the air has a longer window to dissolve into the surface. Above that range, the reaction accelerates, which can trap bubbles before they escape and can create internal stress as different parts of the piece cure at different rates. That stress can lead to cracks or a permanent haze.
A common pattern is that a piece poured in a cold garage in winter looks clear going into the mold but turns foggy overnight. The resin was simply too cold to cure evenly, and moisture condensed on or within the surface as the piece sat soft.
Why Humidity Matters
Relative humidity above roughly 50 percent is widely considered risky for clear resin casting. Water vapor in the air can be absorbed into the resin while it is still curing, especially at the surface. Once trapped, that moisture scatters light and produces the frosted, cloudy look. In severe cases, the surface may feel slightly tacky or develop a white blush.
Humidity is not just a room-level issue. Basements, garages, and kitchens near running water are common problem areas. Even a dry-looking room can have high humidity after rain or in summer. A hygrometer (humidity meter) is inexpensive and takes the guesswork out of monitoring.
Practical Steps to Control Conditions
- Measure before you pour. Use a thermometer and hygrometer in the curing space. Aim for 70-75°F and below 50 percent relative humidity. If you cannot hit both, wait or move the piece.
- Warm the resin, not the room, when possible. If your workspace is cool, warm the resin bottles in a water bath of warm, not hot, tap water before measuring. This lowers viscosity and helps bubbles escape without overheating the room. Never use open flame or a microwave.
- Use a dehumidifier in damp spaces. A small dehumidifier can bring a basement or garage into a safe range. Empty it regularly and keep doors and windows closed while it runs.
- Avoid curing near water sources. Kitchens, bathrooms, and laundry rooms are high-humidity zones. Move pieces to a drier room to cure.
- Keep conditions stable. A piece that cures in a room that swings from cold to warm is more likely to develop stress and haze. Avoid placing curing pieces near heating vents, open windows, or exterior doors.
- Do not move pieces during cure. Vibration and movement can introduce bubbles and disturb the surface. Leave the piece undisturbed for the full cure time recommended by the manufacturer.
Adapting for Different Decor Pieces
Deep pours, such as paperweights, large sculptures, or thick coasters, generate more heat internally and may need cooler ambient conditions to avoid overheating. Thin coatings and surface seals are more vulnerable to humidity because the resin cures quickly and any moisture at the surface can be trapped before the reaction completes. For pieces with embedded objects, painted surfaces, or delicate inclusions, keep humidity on the lower end and avoid any direct airflow that could carry dust or moisture. When in doubt, cure longer at a stable moderate temperature rather than rushing with heat.
Safety Precautions
Resin and its components are skin and respiratory irritants in their uncured state. Work in a well-ventilated area, wear nitrile gloves, and avoid breathing vapors. Keep curing pieces out of reach of children and pets. If you use a dehumidifier or heater, follow the manufacturer's safety instructions and never leave them unattended for long periods. Proper ventilation also helps moisture escape rather than condense on curing surfaces.
Diagnosing the Problem: Cloudy Resin vs. Cloudy Surface vs. Cloudy Mold
Not all cloudiness is the same. Knowing which type you have changes how you fix it.
Cloudy resin means the problem is inside the piece itself. The resin material hardened with trapped moisture or air bubbles throughout. This affects the entire piece, not just the surface.
Cloudy surface means only the top layer looks hazy. The resin underneath stays clear. This usually comes from dust, moisture, or improper demolding. The interior is fine.
Cloudy mold happens when the mold surface is dirty or damaged. The resin picks up texture and cloudiness from the mold. The resin itself is clear, but the mold transferred the problem.
To tell the difference, look at the piece carefully. Hold it up to light. If cloudiness is only on the surface, you can polish it away. If it's throughout the piece, the problem is deeper in the material.
How to Fix Cloudy Resin Home Decor: Repair Methods
You have options for fixing cloudy resin home decor. The right method depends on what caused the problem.
Cleaning and Polishing for Surface Cloudiness
Surface cloudiness often clears with simple cleaning. Start with warm water and mild soap. Wipe gently with a soft, lint-free cloth.
Dry completely with another lint-free cloth. Any remaining moisture makes it look cloudy again.
For stubborn cloudiness, use isopropyl alcohol. Dampen a soft cloth with it. Wipe the surface gently in circular motions.
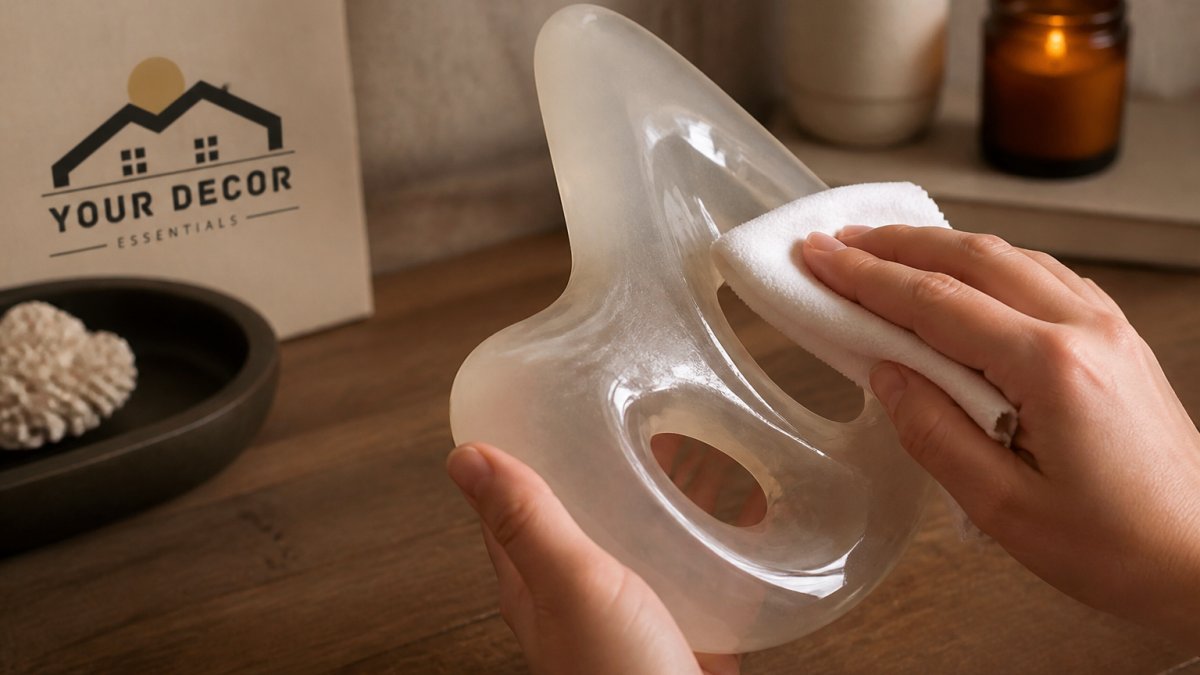
Let it air dry completely. The cloudiness should lift as the alcohol evaporates. This works best for dust and light surface haze.
When to Sand and Recoat
Deep cloudiness needs sanding. Use fine-grit sandpaper, starting with 220-grit. Sand gently in one direction. Don't press hard or you'll create scratches.
Wipe away dust with a damp cloth. Let it dry completely. Sand again with 400-grit sandpaper for a smoother finish.
After sanding, you can recoat the piece. Apply a thin layer of clear epoxy resin over the top. This seals the surface and restores clarity.
The recoating process takes time. Let each layer cure fully before adding another. Multiple thin layers work better than one thick layer.
How to Polish Resin and Restore Clarity
Polishing brings back shine and clarity to dull resin pieces. Start with fine-grit sandpaper. Sand the entire surface evenly.
Use 400-grit, then 600-grit, then 1000-grit sandpaper in stages. Each step removes scratches from the previous one. This creates a smooth base for polishing.
After sanding, apply a resin polish or automotive polish. Use a soft cloth and rub in circular motions. The polish fills microscopic scratches and adds shine.
Buff with a clean cloth to remove excess polish. Your resin should look clearer and glossier now.
For best results, work in a dust-free area. Any dust particles get trapped during polishing and ruin the finish.
How to Sand and Recoat Epoxy Resin for a Fresh Finish
Sanding prepares the surface for a fresh coat. Use 220-grit sandpaper first. Sand until the surface feels slightly rough, not smooth.
This roughness helps new resin stick to the old layer. Sand evenly across the entire piece. Pay extra attention to cloudy areas.
Wipe away all dust with a damp cloth. Let dry completely. Any remaining dust creates bubbles in the new resin.
Mix your fresh epoxy resin carefully. Follow the mix ratio exactly. Stir slowly to avoid trapping air bubbles.
Pour the new resin over the sanded surface. Spread it evenly with a brush or spreader. Work quickly before it starts to harden.
Let it cure in the right conditions. Keep temperature stable at 70-75 degrees. Keep humidity below 50 percent. This gives you the best chance of crystal clear results.
Prevention Checklist: Keeping Your Resin Decor Crystal Clear
Preventing cloudiness is easier than fixing it. Follow these steps to keep your resin pieces looking perfect.
- Mix resin slowly to avoid trapping air bubbles
- Use the correct mix ratio for Part A and Part B
- Mix at room temperature, never in cold spaces
- Pour resin at room temperature too
- Cure in a space that stays 70-75 degrees Fahrenheit
- Keep humidity below 50 percent during curing
- Use a dehumidifier if your room is naturally damp
- Don't move pieces while they cure
- Store finished pieces in a dry, cool location
- Keep resin decor away from direct sunlight
- Dust regularly with a soft, dry cloth
- Never store near water sources or damp areas
- Use sealed containers for long-term storage
- Check stored pieces monthly for moisture buildup
When to Repair, Recoat, or Start Fresh
Sometimes fixing isn't worth the effort. Decide based on the damage and your time.
Repair works for light surface cloudiness. Cleaning or light polishing takes an hour. The piece returns to nearly perfect condition.
Recoat works for moderate cloudiness throughout the piece. Sanding and applying fresh resin takes several hours. You get a like-new finish.
Start fresh makes sense for severe damage. Multiple cracks, deep cloudiness, or structural problems mean the piece won't look right no matter what. Making a new piece is often faster and better.
Consider the piece's value too. A small decorative accent might not be worth hours of repair work. A large statement sculpture is worth the effort.
Cloudy resin home decor doesn't have to stay that way. Most cloudiness clears with the right cleaning, polishing, or sanding technique. The key is identifying what caused it first.
Your Decor Essentials specializes in beautiful resin accents and abstract sculptures designed to enhance your home. When you invest in quality pieces, protecting them matters. Keep your resin decor crystal clear by controlling temperature and humidity during curing, storing pieces properly, and addressing cloudiness quickly when it appears.
Frequently Asked Questions
Why did my resin home decor turn cloudy after curing?
Cloudiness in cured resin typically results from moisture exposure, incorrect mixing ratios, or improper curing conditions. If your resin piece was exposed to humidity during curing or stored in a damp environment, moisture can become trapped inside, creating a foggy appearance. Mixing Part A and Part B too quickly or at the wrong ratio can also introduce air bubbles that scatter light and cause cloudiness. Temperature fluctuations and insufficient curing time are additional common culprits.
Can cloudy resin be fixed after it cures?
Yes, many cases of cloudy resin can be improved or fully restored. If cloudiness is only on the surface, gentle polishing with isopropyl alcohol and a soft cloth often removes it. For deeper cloudiness, sanding the surface with fine-grit sandpaper followed by a fresh resin coat can restore clarity. However, if cloudiness is trapped inside the cured piece, repair may be limited to surface restoration, and remaking the piece might be the best option.
What is the best way to prevent cloudy resin in home decor pieces?
Prevent cloudiness by maintaining proper resin curing temperature and humidity. Cure resin at room temperature (68-75°F) in an environment with 40-50% humidity. Mix Part A and Part B slowly and thoroughly to avoid air bubbles. Use a sealed container during storage and keep your resin decor away from direct sunlight and moisture. Allow adequate cure time before moving or exposing the piece to temperature changes.
How long should resin cure before I sand or recoat it?
Most epoxy resin requires 24 hours for initial cure and 48-72 hours for full hardness before sanding or recoating. Check your specific resin's instructions, as cure times vary by product. Sanding too early can damage the piece; waiting the full time ensures the resin is hard enough to sand smoothly without cracking or gouging.