 how-to
How to Hang Wall Art in a Rental Apartment
Last Updated: October 23, 2026
Quick Summary
How to hang wall art in a rental apartment comes down to three things: knowing what your lease allows, preparing your wall correctly, and picking a hanging method that matches your artwork's weight. Modern damage-free hanging options like removable adhesive strips, specialized hooks, and picture hangers work well when applied to clean, dry walls. Start by checking your lease for permission, clean your wall thoroughly, then choose adhesive strips for lightweight pieces under 3 pounds, damage-free picture hangers for 3-8 pounds, or heavy-duty hangers for 8-15 pounds.
- Check your lease and get landlord permission in writing before hanging anything on rental walls.
- Clean and dry your wall completely before applying any adhesive strips or hangers.
- Lightweight artwork under 3 pounds works best with basic adhesive strips; heavier pieces need stronger hangers.
- Pull adhesive strips slowly at a 45-degree angle to remove them safely without damaging paint.
- Wait the full 24-hour curing time before hanging artwork after applying adhesive strips or hangers.
Table of Contents
- Why Hanging Wall Art in a Rental Requires a Different Approach
- Check Your Lease and Get Landlord Permission
- Prepare Your Wall Surface for Damage-Free Hanging
- How to Hang Pictures in an Apartment Without Nails
- How to Hang Heavy Pictures Without Nails
- Choosing a Hanging Method by Artwork Weight
- How to Hang a Gallery Wall in a Rental
- How to Remove Picture Hanging Strips Without Damage
- Common Mistakes to Avoid When Hanging Wall Art
- Frequently Asked Questions
Why Hanging Wall Art in a Rental Requires a Different Approach
Learning how to hang wall art in a rental apartment means you can't drill holes or use nails. Explore practical decor ideas specifically designed for first apartments and rental spaces. Your lease probably forbids permanent damage. But that doesn't mean your walls have to stay bare. The trick is choosing the right method for your specific wall and artwork. At Your Decor Essentials, we help renters transform their spaces with curated pieces that deserve proper display, without risking your security deposit.
How to hang wall art in a rental apartment comes down to three things: knowing what your lease allows, preparing your wall correctly, and picking a hanging method that matches your artwork's weight. Most renters skip the lease step entirely and jump straight to adhesive strips. That's where problems start.
The good news? Modern damage-free hanging options work surprisingly well. Removable adhesive strips, specialized hooks, and picture hangers have come a long way. You just need to know which one fits your situation.
Check Your Lease and Get Landlord Permission
Your lease is your starting point, but "read it carefully" is not enough. You need to know exactly which clauses matter, what language to look for, and how to document permission so a future dispute does not cost you your security deposit.
What to look for in your lease:
- Wall decorations clause, Search for terms like "wall hangings," "picture hanging," "adhesives," "nails," "holes," and "alterations." A clause that bans "alterations" may still permit small nail holes; a clause that bans "adhesive residue" may still allow removable strips.
- Security deposit language, Note the specific deductions listed. Many leases itemize charges for nail holes, paint touch-up, or drywall repair. Knowing the stated deduction helps you weigh risk against reward.
- Move-in condition report, Compare your signed move-in checklist against the current wall condition. Pre-existing nail holes or paint flaws should already be documented; photograph them now so you are not blamed later.
- Renewal and inspection terms, Some leases require notice before hanging anything or prohibit hanging within a set period before move-out. Check whether inspections are scheduled and what notice you receive.
A practical permission checklist:
- Identify the exact clause that governs wall hangings and quote it in your request.
- Ask your landlord in writing (email is fine) whether removable adhesive strips, damage-free picture hangers, or small nails are acceptable.
- Describe the method and the approximate weight of the artwork so the answer is specific, not vague.
- Request confirmation that the approved method will not be treated as a lease violation or deposit deduction.
- Save the written reply and a photo of the installed art.
Distinguishing small holes from prohibited alterations: Many leases treat a small nail hole (often described as a picture-hanging nail or brad) differently from a drilled anchor hole. If your lease is silent, ask directly: "Is a single small nail hole for a picture hanger considered normal wear and tear, or an alteration?" Get the answer in writing. Some landlords will approve small nails in drywall but not in plaster, tile, or brick, so name the wall type in your request.
If your lease is vague, do not guess. A two-minute email that quotes the clause and asks a specific question protects you far better than a general "can I hang pictures?" message. Landlords respond better to specific, low-risk requests, and a written yes is worth more than a verbal maybe.
Prepare Your Wall Surface for Damage-Free Hanging
A clean, dry wall is the foundation of damage-free hanging. Dirt, dust, and moisture prevent adhesive from bonding properly. Your preparation takes five minutes and determines whether your art stays up.
Here's the process:
- Wipe the wall with a dry cloth to remove dust and debris
- Use a slightly damp cloth if the wall is visibly dirty
- Let the wall dry completely (at least 30 minutes)
- Avoid cleaning products that leave residue
- Do not hang anything on freshly painted walls (wait 2 weeks minimum)
The wall surface matters too. Painted drywall works well with most adhesive methods. Textured walls are trickier, adhesive strips don't grip as firmly. Wallpaper, paneling, or heavily textured finishes may not work with removable adhesives at all.
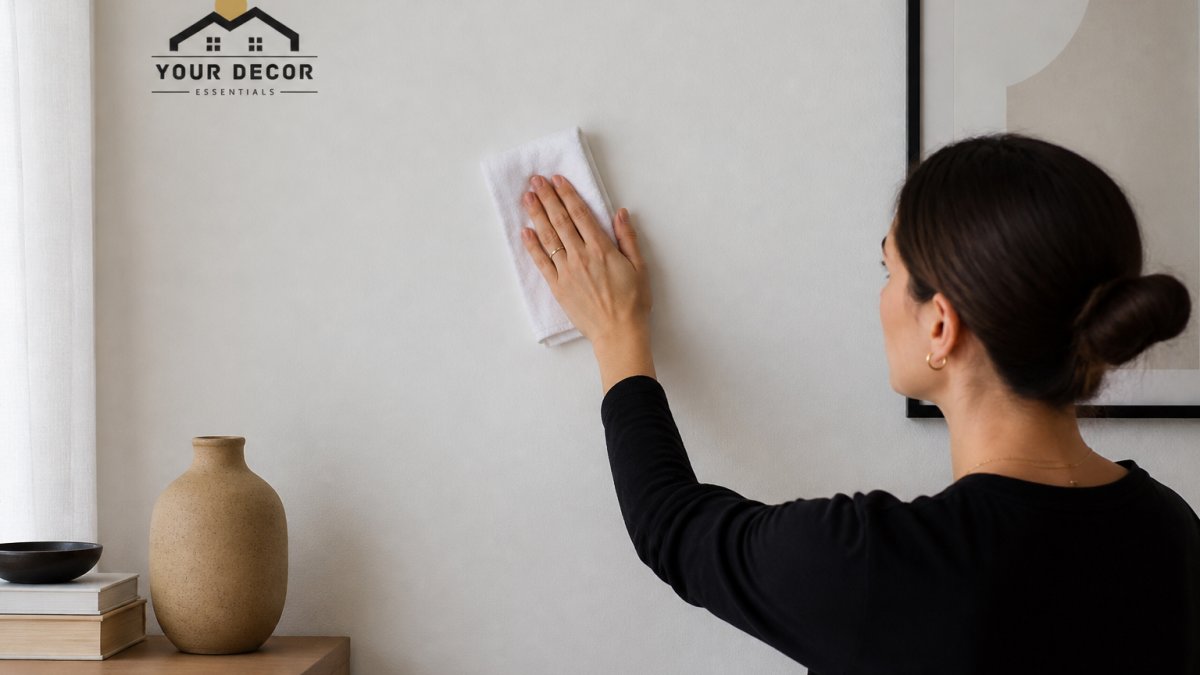
Check your wall type before buying supplies. Run your hand across it. If it's smooth and painted, you're in good shape. If it's rough or textured, you'll need stronger adhesive or a different method entirely.
How to Hang Pictures in an Apartment Without Nails
Adhesive Strips and Removable Hooks
Adhesive strips are the most popular damage-free option for renters. LED photo clip string lights provide a damage-free way to display and hang pictures on rental walls. They're affordable, easy to apply, and work on most painted walls. The catch? They work best for lightweight artwork.
Adhesive strips work by:
- Creating a strong bond between the wall and the hanger
- Distributing weight across a wider surface area
- Releasing cleanly when you pull them at the right angle
Quality matters here. Cheap strips fail. Invest in strips made for hanging pictures, they're stronger than general-purpose adhesive. Look for products designed to hold the weight of your specific artwork.
Application steps:
- Clean and dry your wall thoroughly
- Apply strips to the back of your frame or hanger (not the wall)
- Press firmly for 30 seconds minimum
- Wait the recommended curing time before hanging (usually 24 hours)
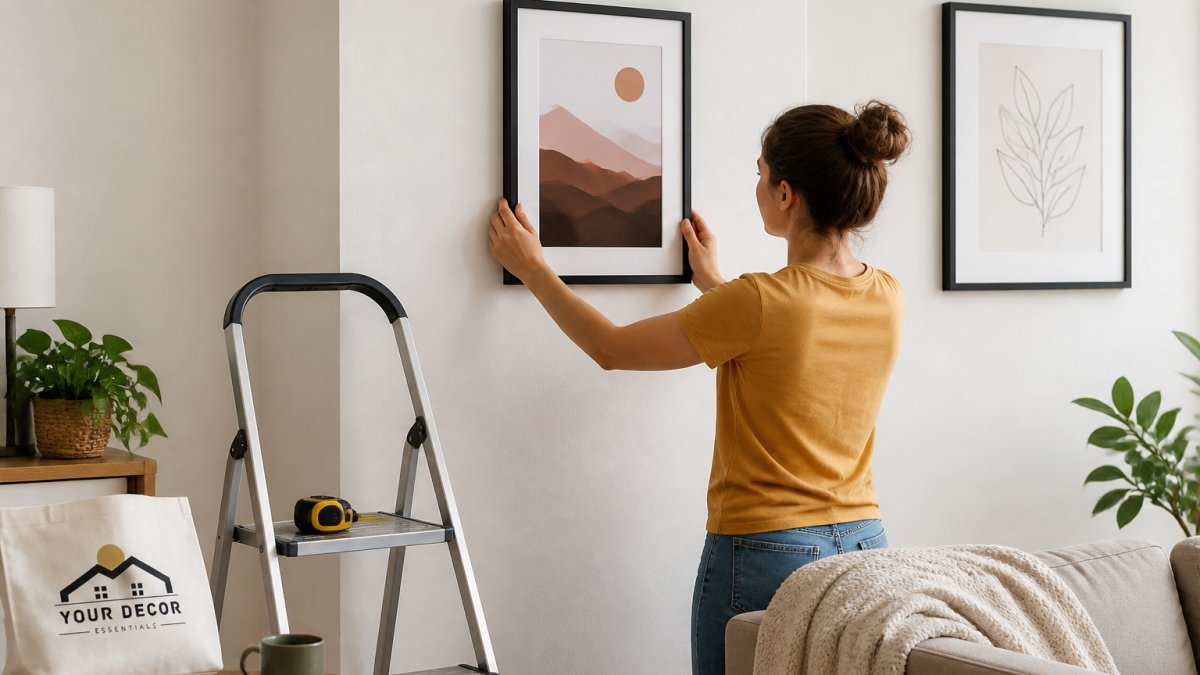
- Hang your artwork carefully
- Press the frame against the wall for 10 seconds to set
Removable hooks work similarly. They stick to the wall and support a hook that holds your frame. These are gentler on walls than strips and easier to adjust if you change your mind.
The removal process matters as much as application. Pull strips slowly at a 45-degree angle, not straight out. This technique prevents wall damage. If adhesive residue remains, use a plastic scraper or your fingernail, never a sharp knife.
Damage-Free Picture Hangers
Picture hangers designed for damage-free hanging use specialized adhesive and metal brackets. They're stronger than basic strips and work on more wall types, including textured surfaces.
These hangers typically include:
- Adhesive backing that bonds to the wall
- A metal bracket that supports the frame wire
- Weight limits clearly marked on the package
Installation is straightforward. Clean your wall, apply the hanger, wait for the adhesive to cure, then hang your frame on the bracket. The metal support distributes weight more effectively than strips alone.
Damage-free picture hangers cost more than adhesive strips but hold heavier artwork safely. If you're hanging framed prints, canvas art, or mirrors, these hangers earn their cost.
How to Hang Heavy Pictures Without Nails
Heavy frames, large canvases, and mirrors are where damage-free hanging gets risky. Standard adhesive strips are not engineered for this load, and the consequences of failure are worse: a fallen mirror can crack, gouge drywall, and cost more than a deposit deduction. This section explains when adhesives are suitable, how wall surface changes the answer, and how to escalate safely when they are not.
Start with the real weight. Weigh the framed piece on a bathroom scale, including glass, backing, and hanging wire. Manufacturer weight ratings assume a clean, flat, painted drywall surface at room temperature. Your wall may not meet those conditions.
Wall-surface compatibility for heavy art:
| Wall surface | Adhesive performance | Removal risk | Heavy-art recommendation |
|---|---|---|---|
| Smooth painted drywall | Good | Low to moderate | Heavy-duty adhesive hangers may work within rating |
| Freshly painted drywall (under 2 weeks) | Poor | High, paint may peel | Wait for full cure; do not use adhesive |
| Textured or knockdown drywall | Reduced grip | Moderate | Use more attachment points or choose hardware |
| Plaster | Variable; often poor | High, plaster can chip | Avoid adhesives; seek approval for hardware |
| Brick or masonry | Poor without special adhesive | High | Not suitable for standard removable strips |
| Tile | Poor; grout lines reduce contact | High | Avoid adhesives; use approved tile-safe hardware |
| Wallpaper | Poor; adhesive can lift paper | High | Avoid adhesives entirely |
When adhesives are unsuitable: If the artwork exceeds the hanger's rated weight, if the wall is plaster, brick, tile, textured, or wallpapered, or if the piece is valuable or irreplaceable, do not rely on removable adhesive. Instead, ask your landlord for written approval to use a secure mounting method. Offer to use a single small nail into a stud, a toggle bolt in drywall, or a French cleat, and offer to patch and repaint at move-out. Landlords are more likely to approve a specific, reversible plan than a vague request.
If you must use adhesive for a heavy piece:
- Choose a hanger rated well above the artwork's weight (aim for at least 1.5 times the weight).
- Use multiple attachment points, four hangers for a large canvas rather than two.
- Apply to a clean, dry, smooth wall and press each strip firmly for the full recommended time.
- Wait the full curing period before hanging; do not shorten it for heavy pieces.
- Test the bond by gently pressing the frame against the wall after hanging, then check it weekly for the first month.
Alternatives for heavy art when hardware is not allowed: A picture ledge or shelf rated for the weight can hold framed pieces without wall penetration if it is freestanding or supported by approved brackets. A floor easel or leaning arrangement works for oversized canvases. A tension rod between two walls can support lightweight panels in some layouts, but check that it does not damage paint at the contact points.
If your lease forbids hardware and your art is too heavy for safe adhesive mounting, the honest answer is to choose a different piece or display it on a ledge or easel. Protecting your deposit and your safety matters more than forcing a heavy piece onto an unsuitable wall.
Choosing a Hanging Method by Artwork Weight
Different artwork weights need different methods. Choosing correctly prevents your art from falling.
| Artwork Weight | Best Method | Why It Works | Curing Time |
|---|---|---|---|
| Under 3 pounds | Adhesive strips | Lightweight, simple application | 24 hours |
| 3-8 pounds | Damage-free picture hangers | Stronger support, distributes weight | 24 hours |
| 8-15 pounds | Heavy-duty adhesive hangers | Metal brackets reinforce support | 24 hours |
| Over 15 pounds | Consult landlord for alternatives | Exceeds most damage-free limits | Varies |
Lightweight posters and small prints work fine with basic adhesive strips. Medium-weight framed pictures need stronger hangers. Large canvases and heavy mirrors require the heaviest-duty options.
When in doubt, go stronger than you think you need. Hanging artwork that falls damages both the piece and your wall. The extra cost of a heavier-duty hanger is worth the peace of mind.
How to Hang a Gallery Wall in a Rental
A gallery wall transforms a blank space into a design statement. A collage picture frame system designed for wall mounting without permanent damage can serve as a centerpiece for your gallery arrangement. The good news? You can create one in a rental using damage-free methods. The challenge is planning the layout without drilling holes.
Steps to hang a gallery wall in a rental:
- Plan your layout on paper first (or use painter's tape on the wall)
- Mark the center point of your wall space
- Arrange frames to balance the composition
- Use a level to ensure frames are straight
- Apply adhesive hangers to each frame individually
- Hang frames one at a time, starting from the center
- Step back frequently to check alignment
Start with smaller frames and lighter pieces. A gallery wall of six lightweight prints is easier to execute than one with heavy canvases. You can always add more pieces later.
Use painter's tape to mark frame positions before you apply any adhesive. This lets you test your layout without commitment. Once you're happy with the arrangement, remove the tape and apply hangers.
Spacing matters for visual impact. Most gallery walls look best with 2-3 inches between frames. Consistent spacing creates harmony. Varied spacing creates interest. Choose what fits your style.
Consider linking to styling guidance for gallery walls to help readers create cohesive arrangements that work with their existing decor from Your Decor Essentials.
How to Remove Picture Hanging Strips Without Damage
Removal is where most people cause wall damage. Pulling strips straight out tears paint. The right technique prevents this.
Proper removal technique:
- Pull the strip slowly and steadily
- Angle your pull toward the wall (45 degrees)
- Work your way along the strip as you pull
- Keep tension consistent, no sudden yanks
- If residue remains, use a plastic scraper gently
Some adhesive residue is normal. It comes off with a plastic scraper or even your fingernail. Rub gently in circular motions. The residue will ball up and peel away.
For stubborn residue, apply a small amount of rubbing alcohol to a cloth and dab the spot. Let it sit for a minute, then rub gently. This softens old adhesive without damaging paint.
Never use sharp objects like knives or razor blades. They scratch and gouge walls. Plastic scrapers are safer and just as effective.
Common Mistakes to Avoid When Hanging Wall Art
Mistake 1: Skipping wall preparation. Dirty or damp walls cause adhesive failure. Spend five minutes cleaning. Your art will stay up.
Mistake 2: Ignoring weight limits. Adhesive hangers have maximum weight ratings for a reason. Overloading them causes falls. Check the package before hanging.
Mistake 3: Not waiting for adhesive to cure. Hanging artwork too soon weakens the bond. Wait the full recommended time, usually 24 hours. Patience pays off.
Mistake 4: Using cheap adhesive strips. Budget options fail more often. Invest in quality strips designed for picture hanging. The cost difference is small.
Mistake 5: Pulling strips straight out. This is the fastest way to damage walls. Pull at an angle, slowly. Take your time during removal.
Mistake 6: Hanging on textured walls without checking compatibility. Textured surfaces reduce adhesive grip. Test a small hanger first or choose a different method.
Mistake 7: Not asking landlord permission. A quick conversation prevents lease violations and disputes. Get approval before you hang anything.
Hanging wall art in a rental apartment doesn't require nails or drilling. With the right preparation and the right method, your artwork stays secure and your walls stay damage-free. Start by checking your lease, preparing your wall properly, and choosing hangers that match your artwork's weight. Transform your rental into a space that reflects your style, without losing your security deposit.
Frequently Asked Questions
What is the best way to hang wall art in a rental apartment?
The best method depends on your artwork's weight and wall type. Start by cleaning the wall with a dry cloth, then use adhesive strips for lightweight framed pictures and canvas art under 5 pounds. For heavier pieces, removable hooks rated for the weight work better. Always check your lease first and get landlord permission. Avoid drilling or nailing whenever possible, adhesive solutions preserve your security deposit and keep walls damage-free.
How do you remove picture-hanging strips without peeling paint?
Remove strips slowly and at a low angle, pulling straight down or parallel to the wall rather than outward. Use a plastic scraper or old credit card to gently lift edges if needed. If paint begins to peel, stop immediately and try a different technique. Heat from a hair dryer on low can soften adhesive. For stubborn strips, apply rubbing alcohol around the edges first. Test removal on a small, inconspicuous area before removing your main artwork.
Can you hang heavy wall art without nails in a rental?
Yes. Heavy framed pictures and mirrors can be hung using heavy-duty removable hooks, interlocking corners, or specialized adhesive wall hangers rated for 10-20+ pounds. Ensure your wall surface is clean and dry before application. Press firmly for the full recommended time (usually 24 hours before hanging artwork). Distribute weight across multiple hangers when possible. Always verify the weight limit of your chosen method matches your artwork's weight.
What should I do if my landlord doesn't allow wall art?
If your lease prohibits wall art, consider alternatives like leaning artwork against walls, using easels, or placing framed pictures on shelves and furniture. Freestanding sculptures, mirrors on stands, and wall-mounted shelves (if permitted) can add visual interest without permanent wall attachment. Discuss your decorating plans with your landlord, some may allow specific methods like adhesive strips. Document your wall's condition with photos before hanging anything, and keep all materials for removal when you move.